How to Make your Products Sell Online- Using the Right Photos
A lot of small businesses nowadays are opting to sell their products online. People like it because of its convenience. Even I shop online these days too, and it seems online shopping is going to be the new norm during and after the Covid19 quarantine period.
So, have you tried it yet and took pictures of your products?
I’ll share with you a few things that can make your product photography awesome (and help you sell them too!) and perfect for your online shop.
- Check your item
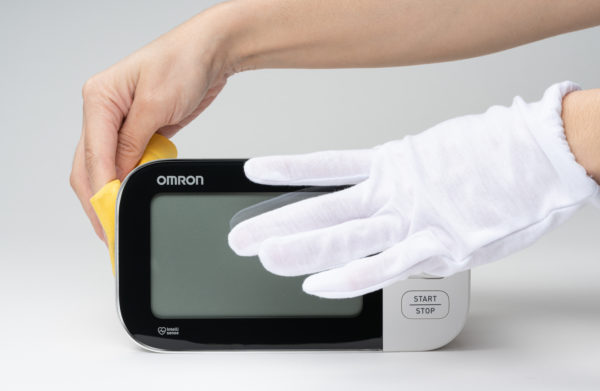
Before you begin shooting, check your product or item. It’s always best to get the item in tip-top condition. You wouldn’t want to add more work after the shoot.
Make sure it is clean, in perfect condition, and be careful in holding it. Make sure it doesn’t break while shooting!
- Align properly

Align your product
Don’t shoot too near your product
One of the most common complaints of customers when they receive their items is when the item doesn’t look like how it looks in the photo.
So make sure to use a lens with minimal distortion (for cameras with replaceable lenses) or position the camera properly (for non-removable lens cameras or if you’re confident enough to use your camera phone).
So here’s a little story:
You’d think it’s trivial but getting your photos to look close enough (ex. color, size, look) to the actual item is very important. I have a client from the US who emphasizes that because they get complaints or items can be returned if proven that they “don’t look the same.”
Well if you think about it, it’s just fair right? You want to get what you saw in the picture, and many buyers will base their decision either on what they saw on your post or how much it cost. Yes, the picture matters – a lot!
- Light it nicely
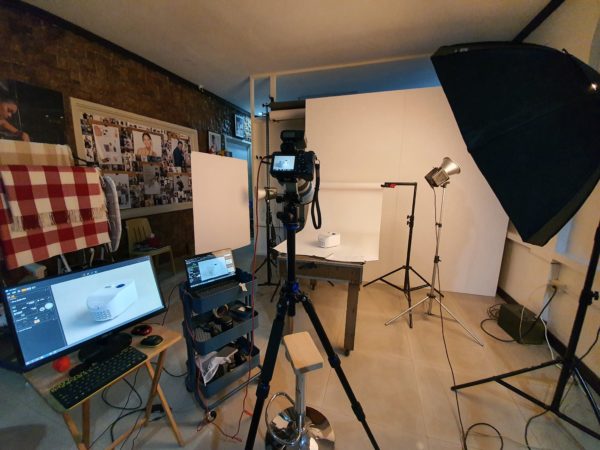
It’s great if you have your own light setup at home. You can use flashes, or continuous light such as bulbs and LED panels. What’s important is to make sure the product is evenly lit, and avoid colored light. This ensures that customers can see how the product looks like with no bad shadows hiding features or discoloring the item.
Alternatively you can use daylight which is also FREE and combine it with reflectors like Styrofoam, white cloth, illustration board
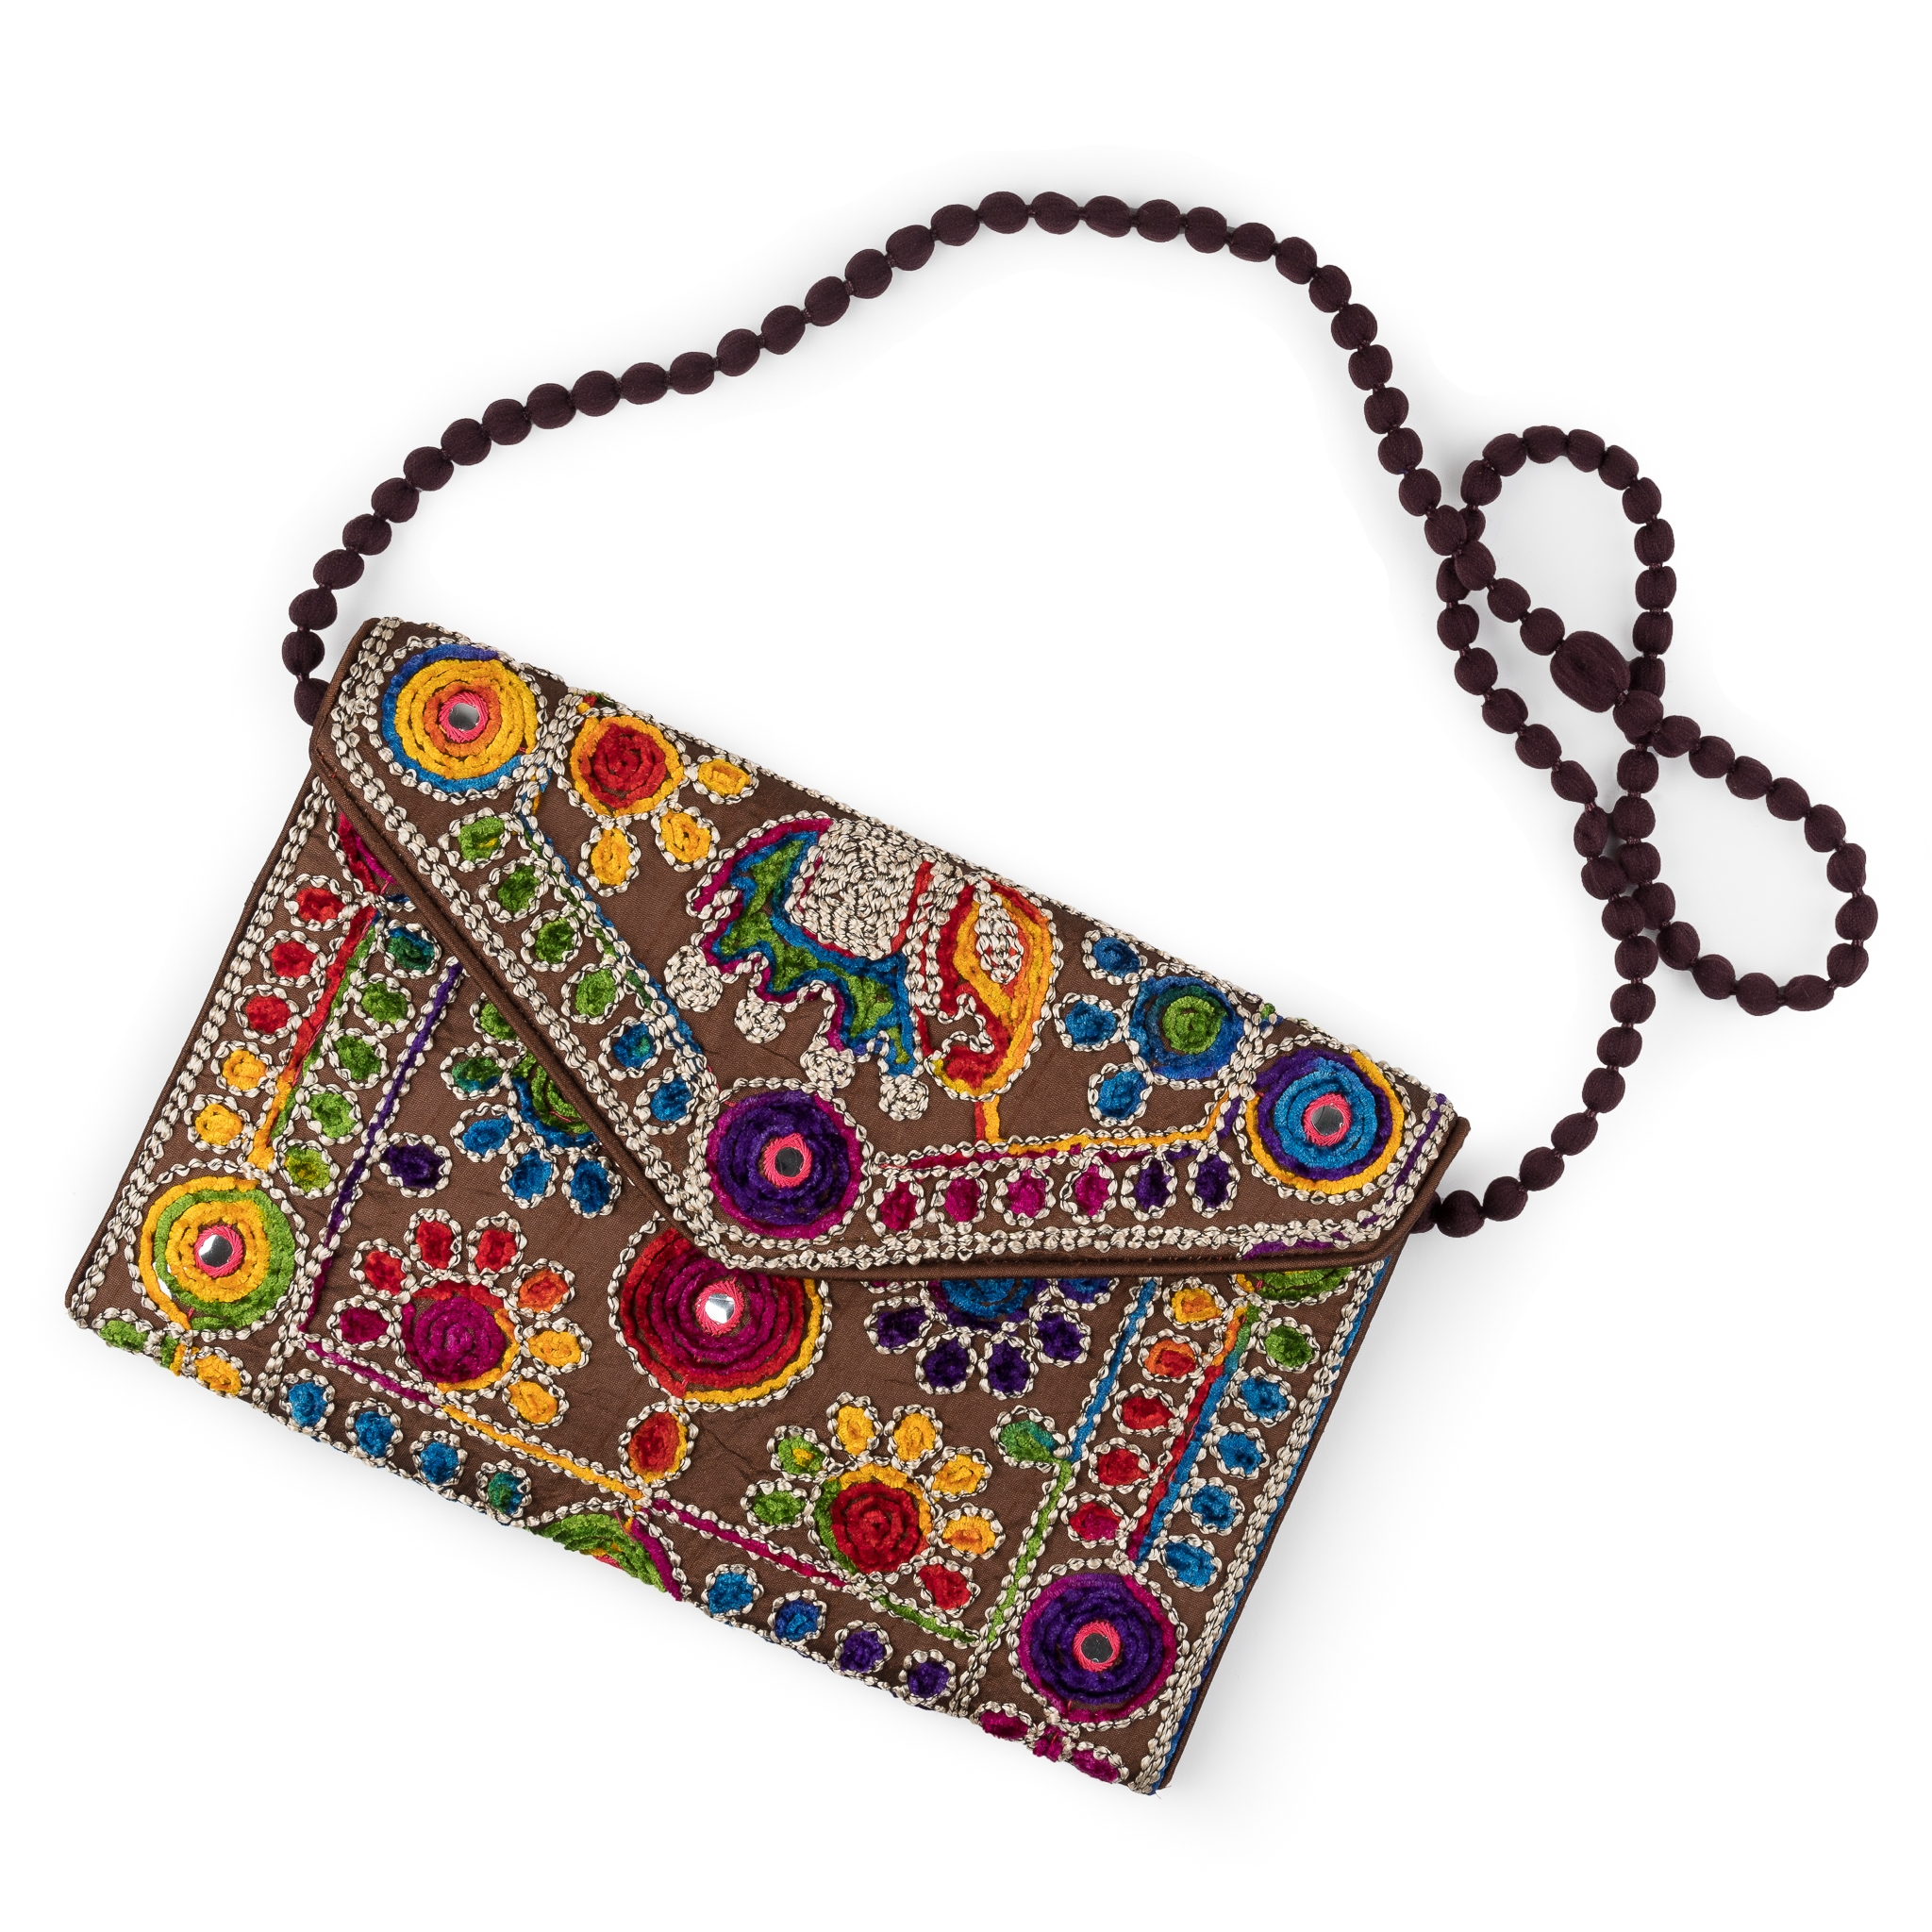
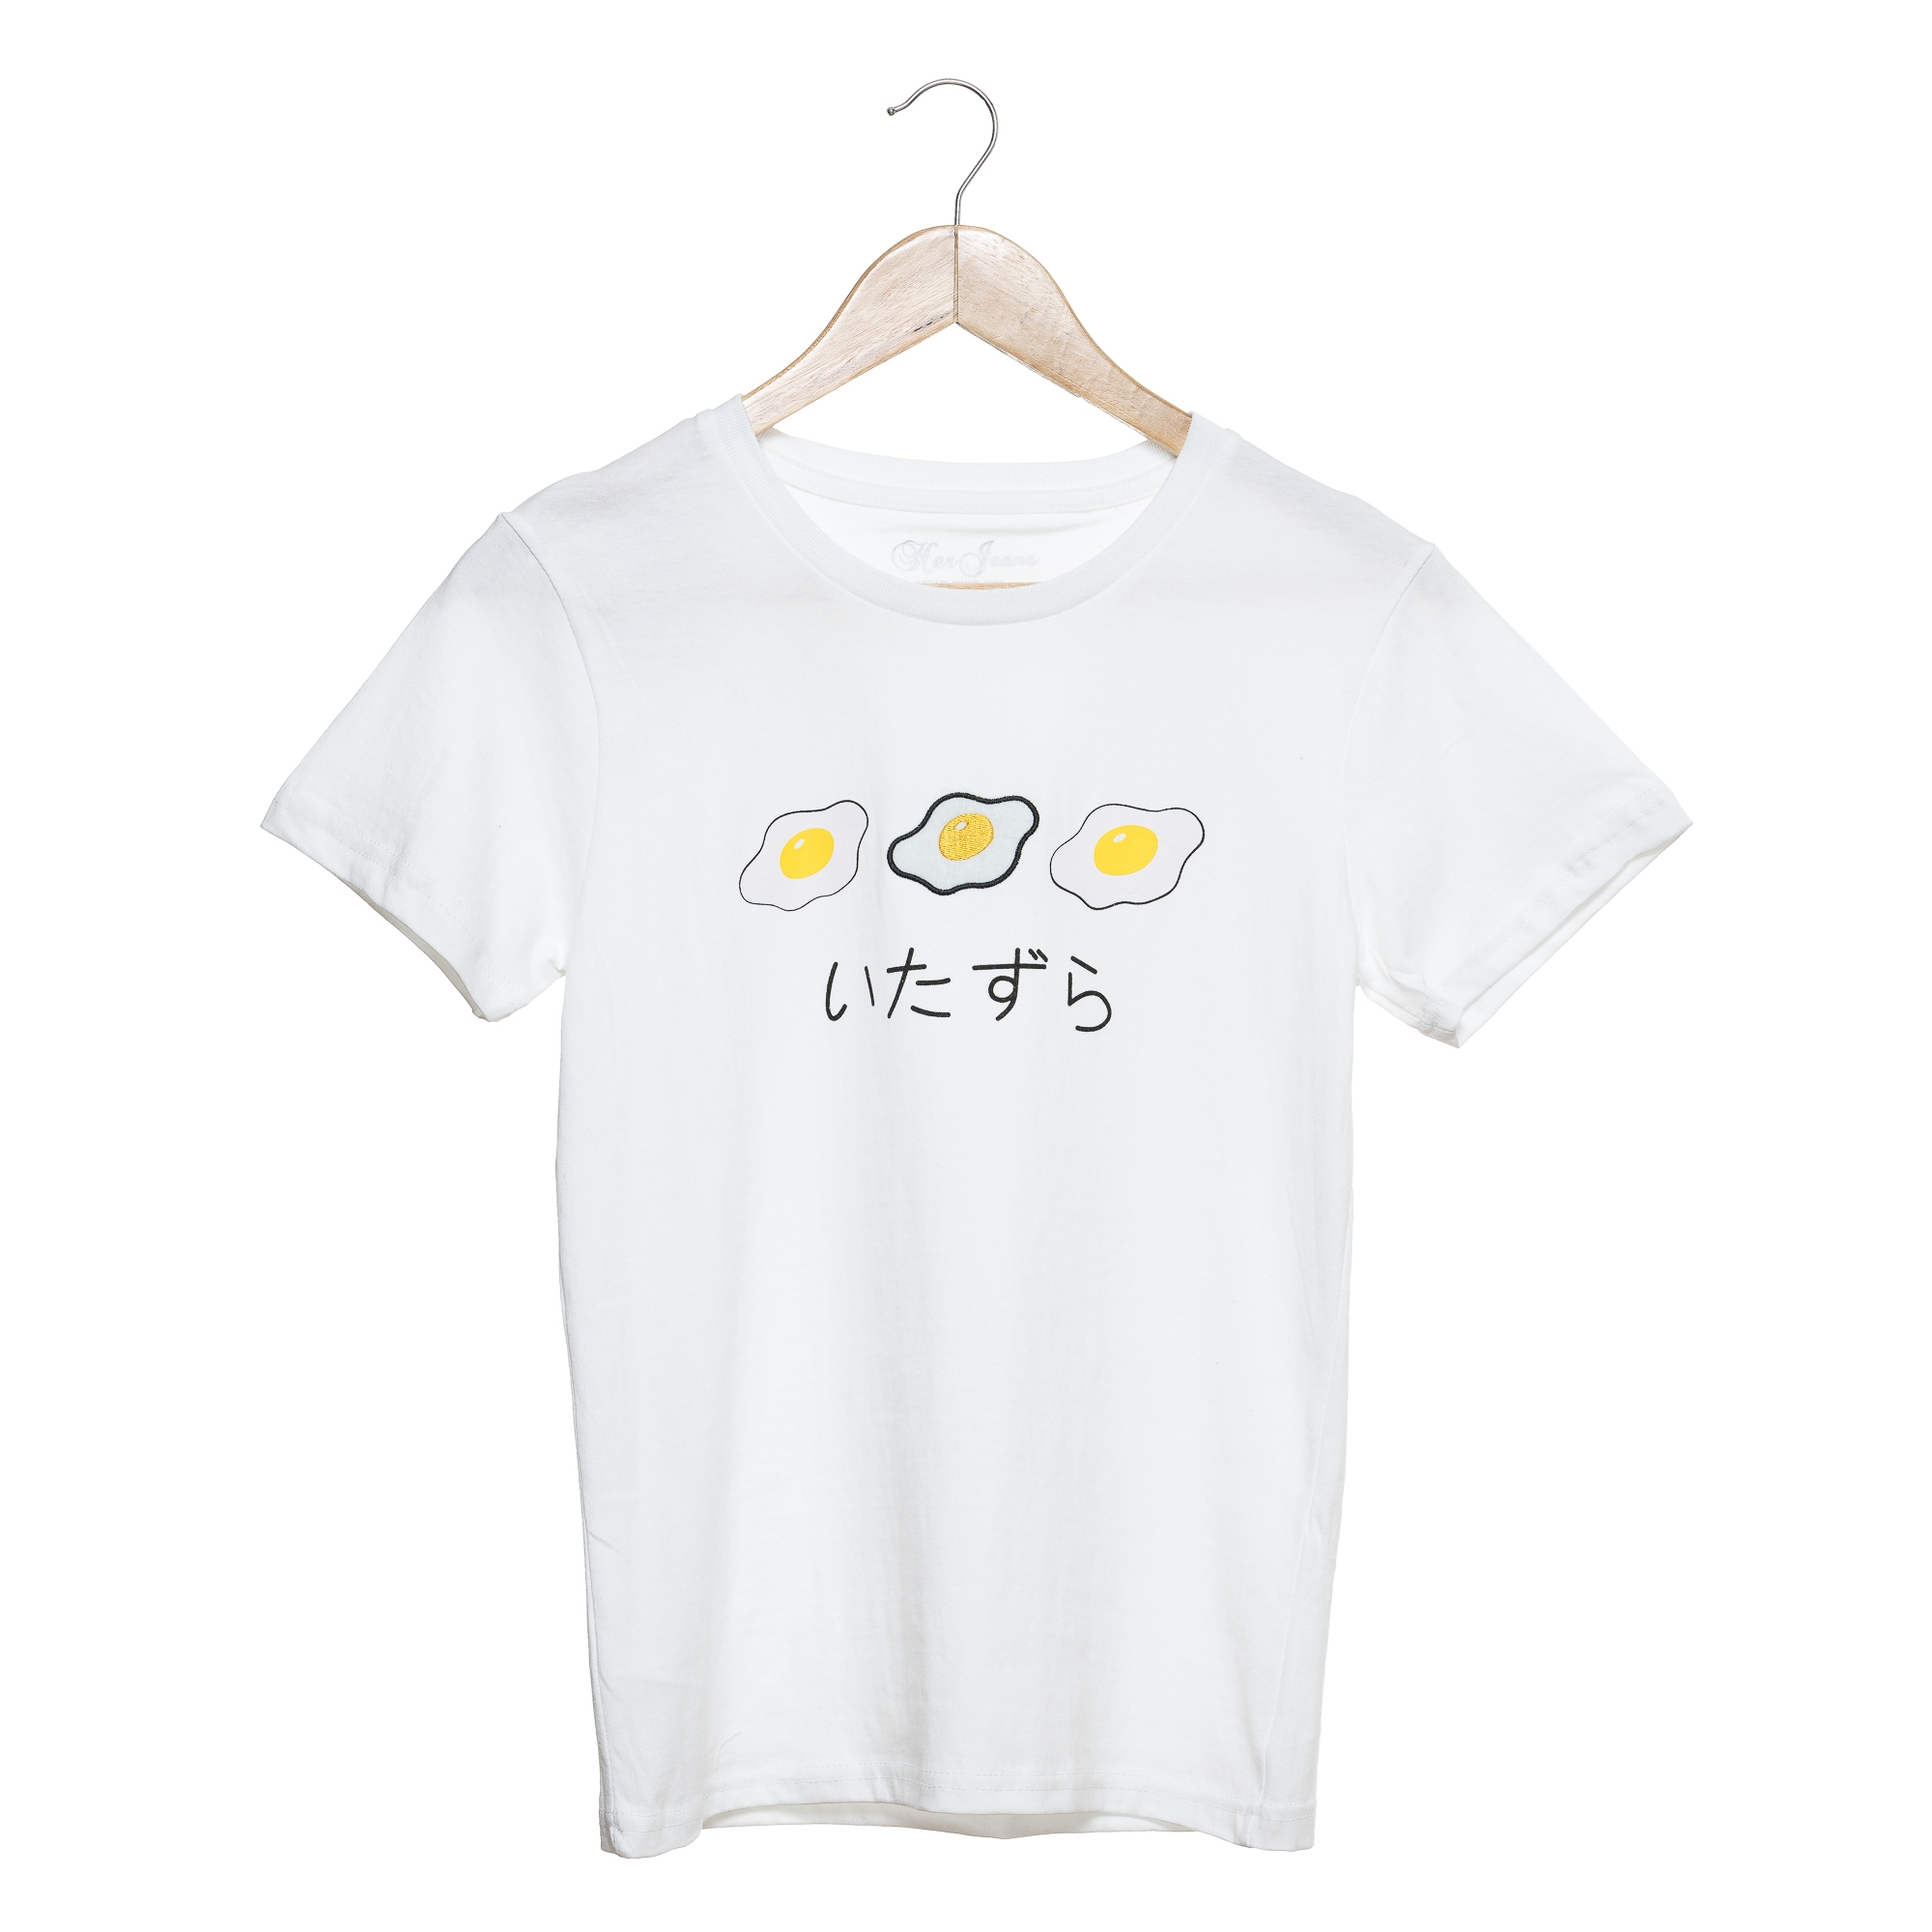
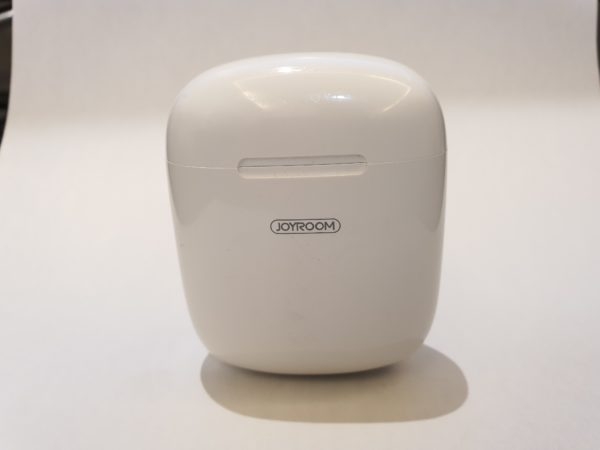
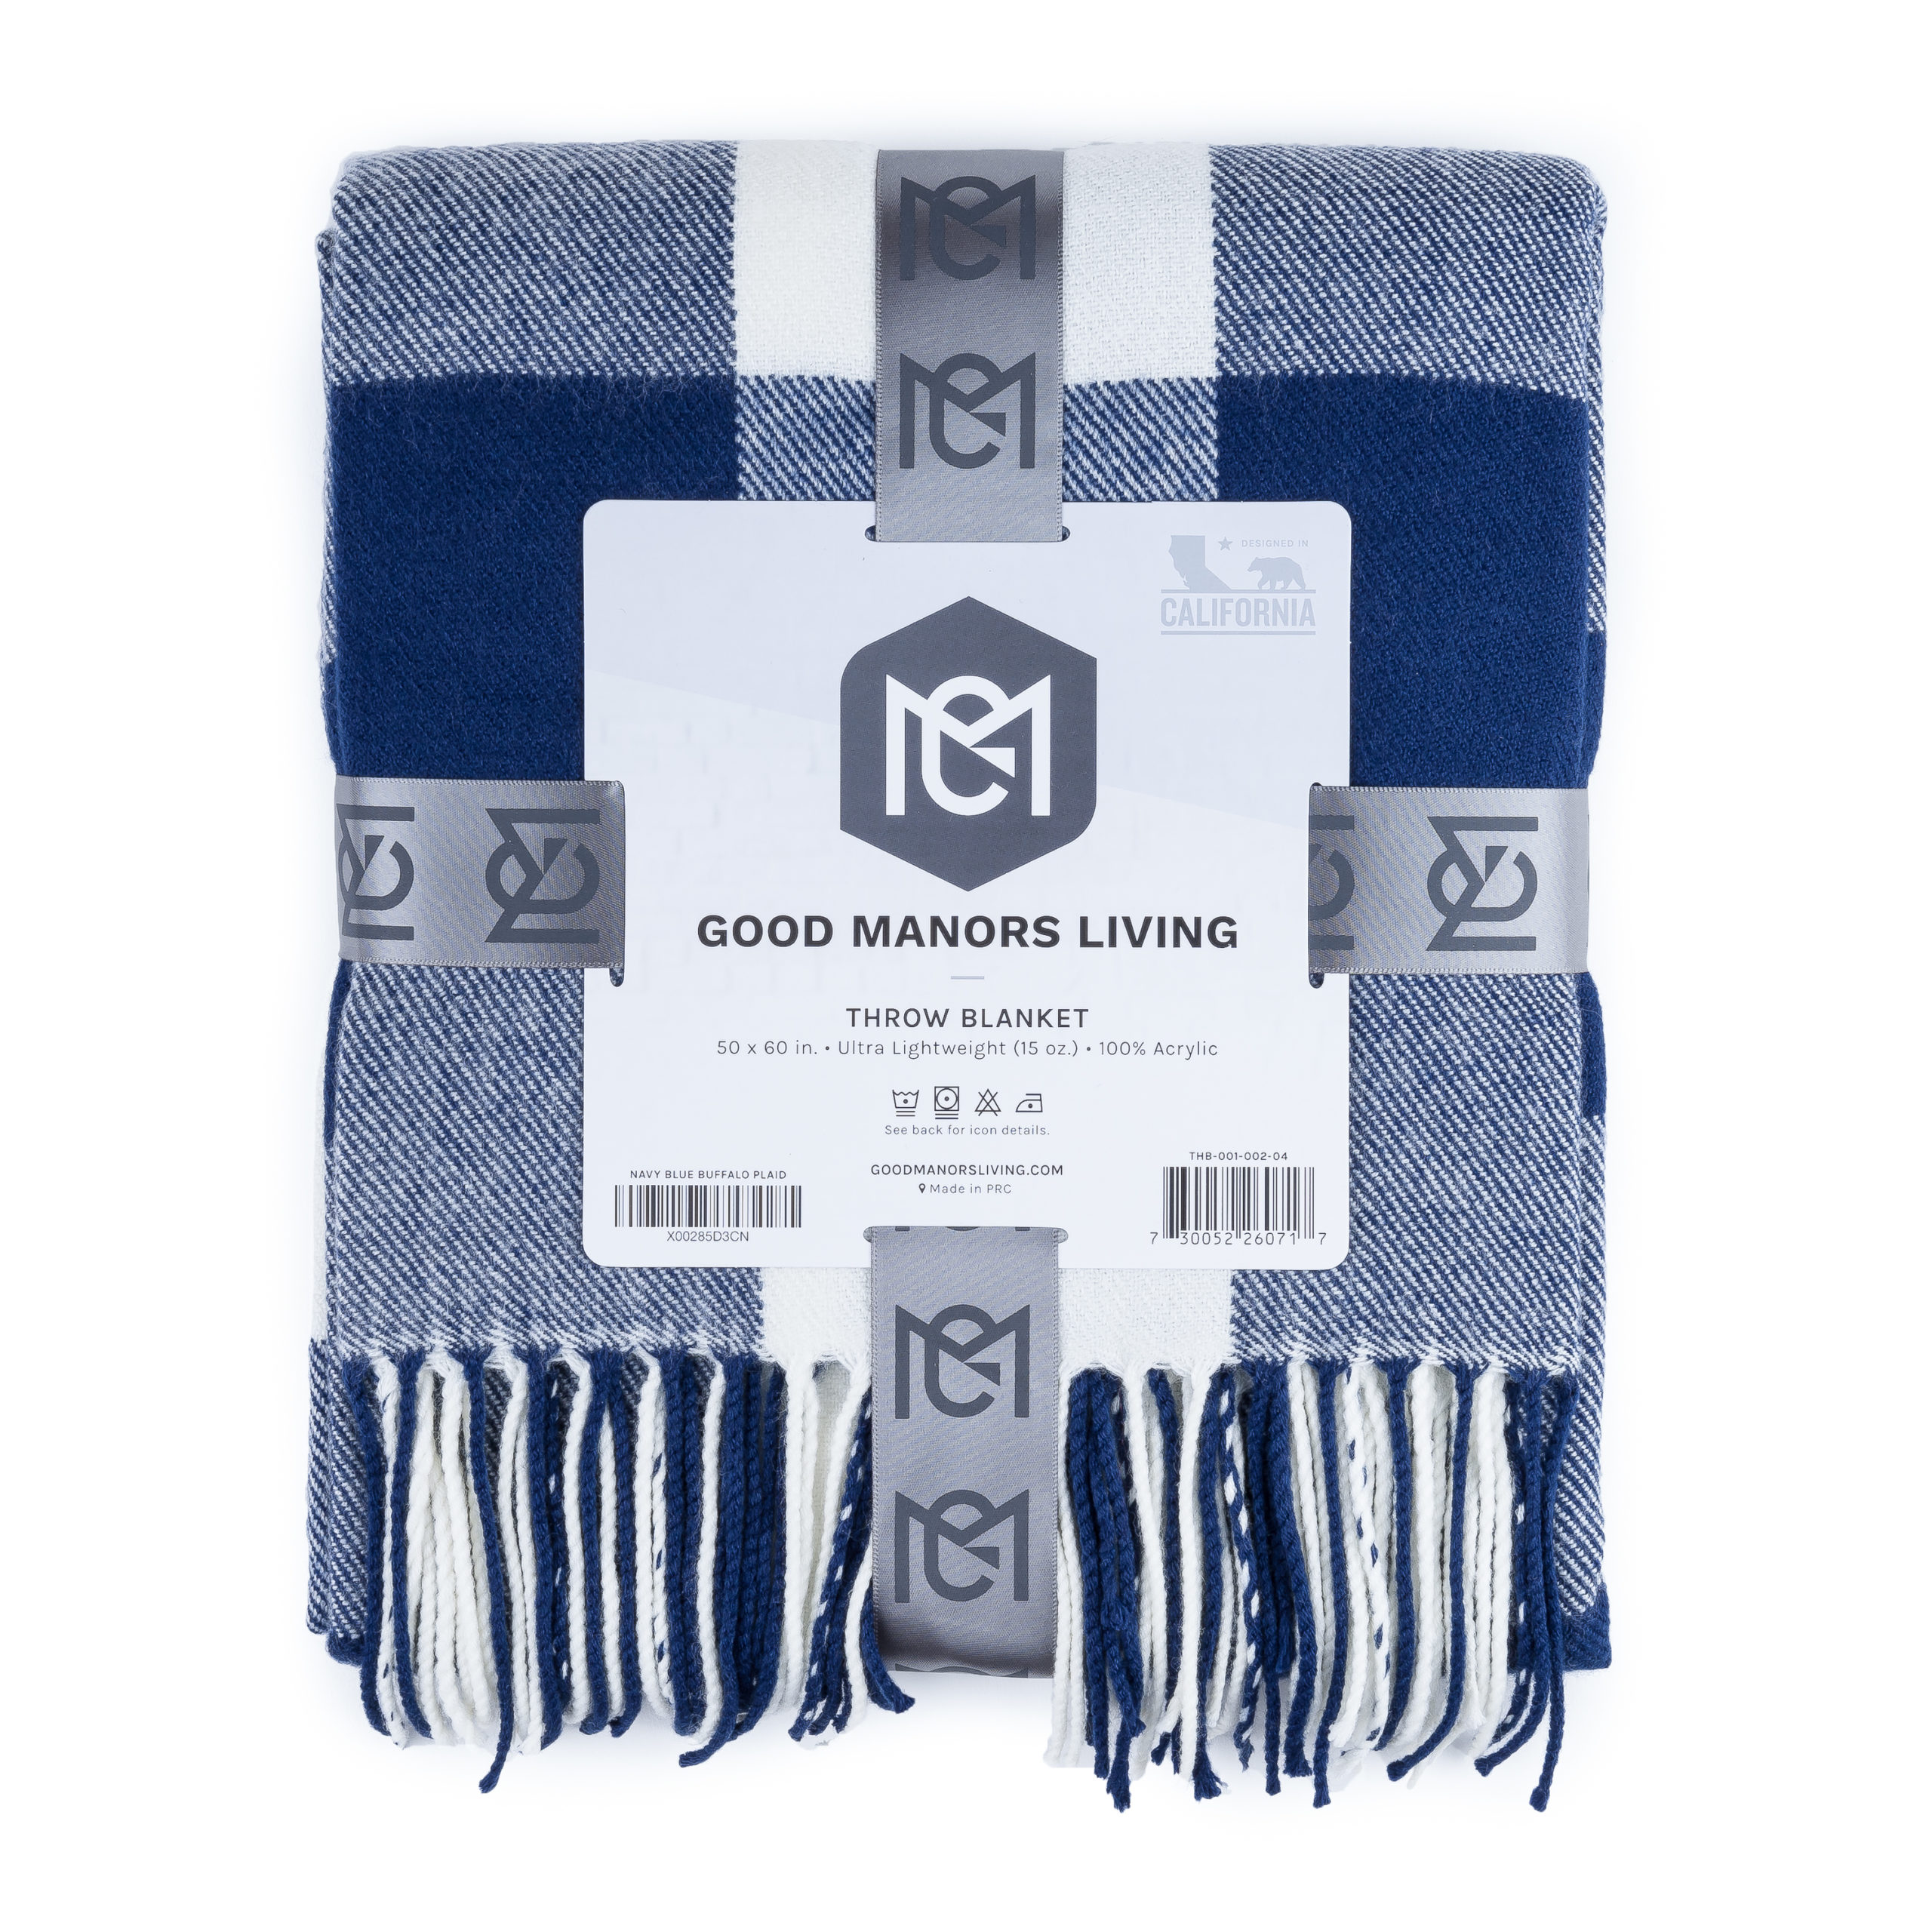
- Set up a white background (preferably)

You’re probably asking: why white?
Aside from providing soft reflected light from behind, white gives off a generally clean look that looks good on any page or social media picture album.
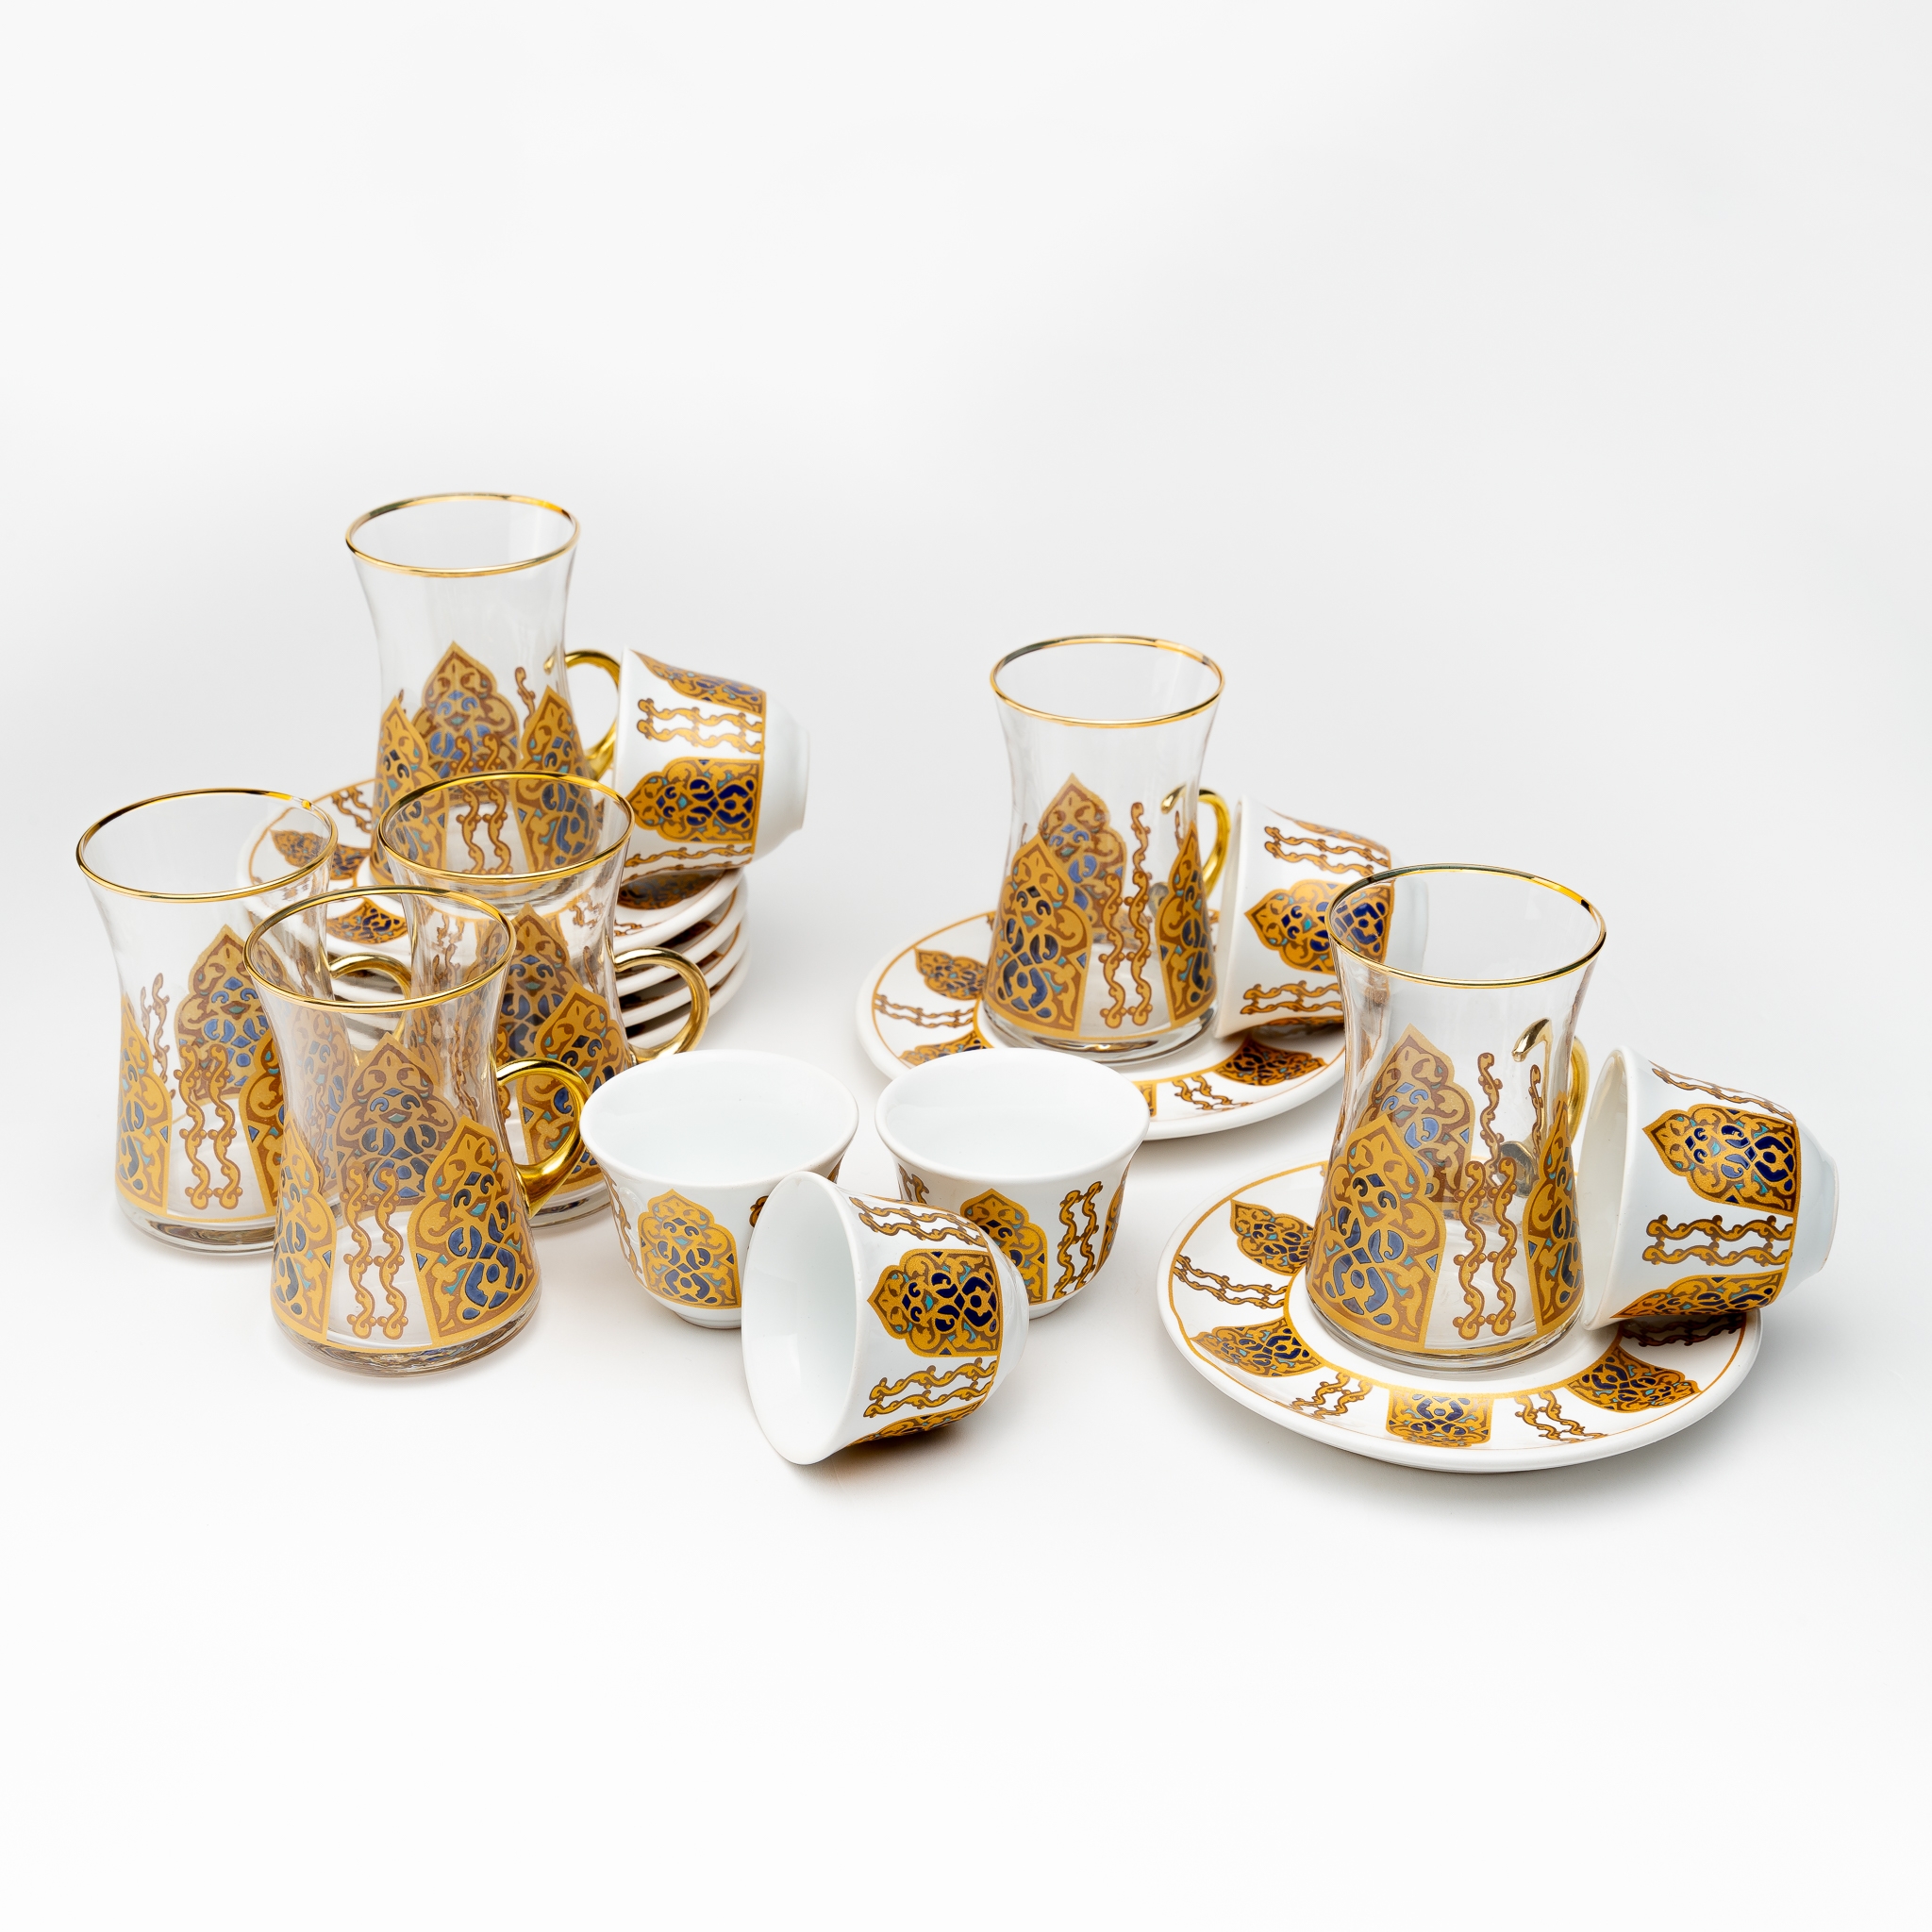
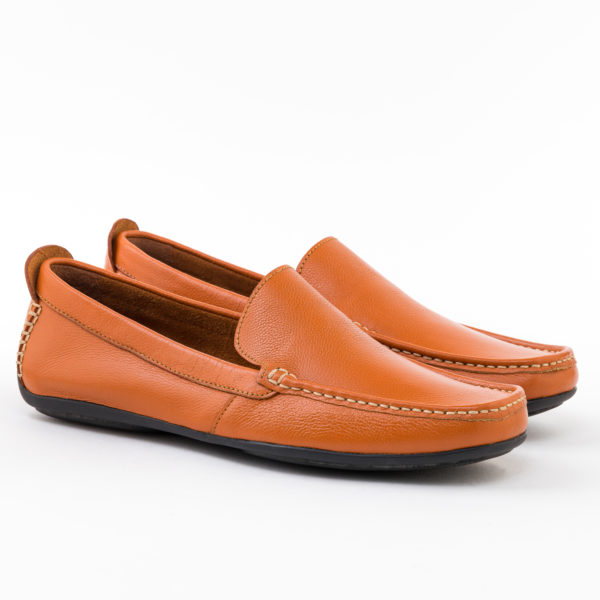
- Shoot multiple angles
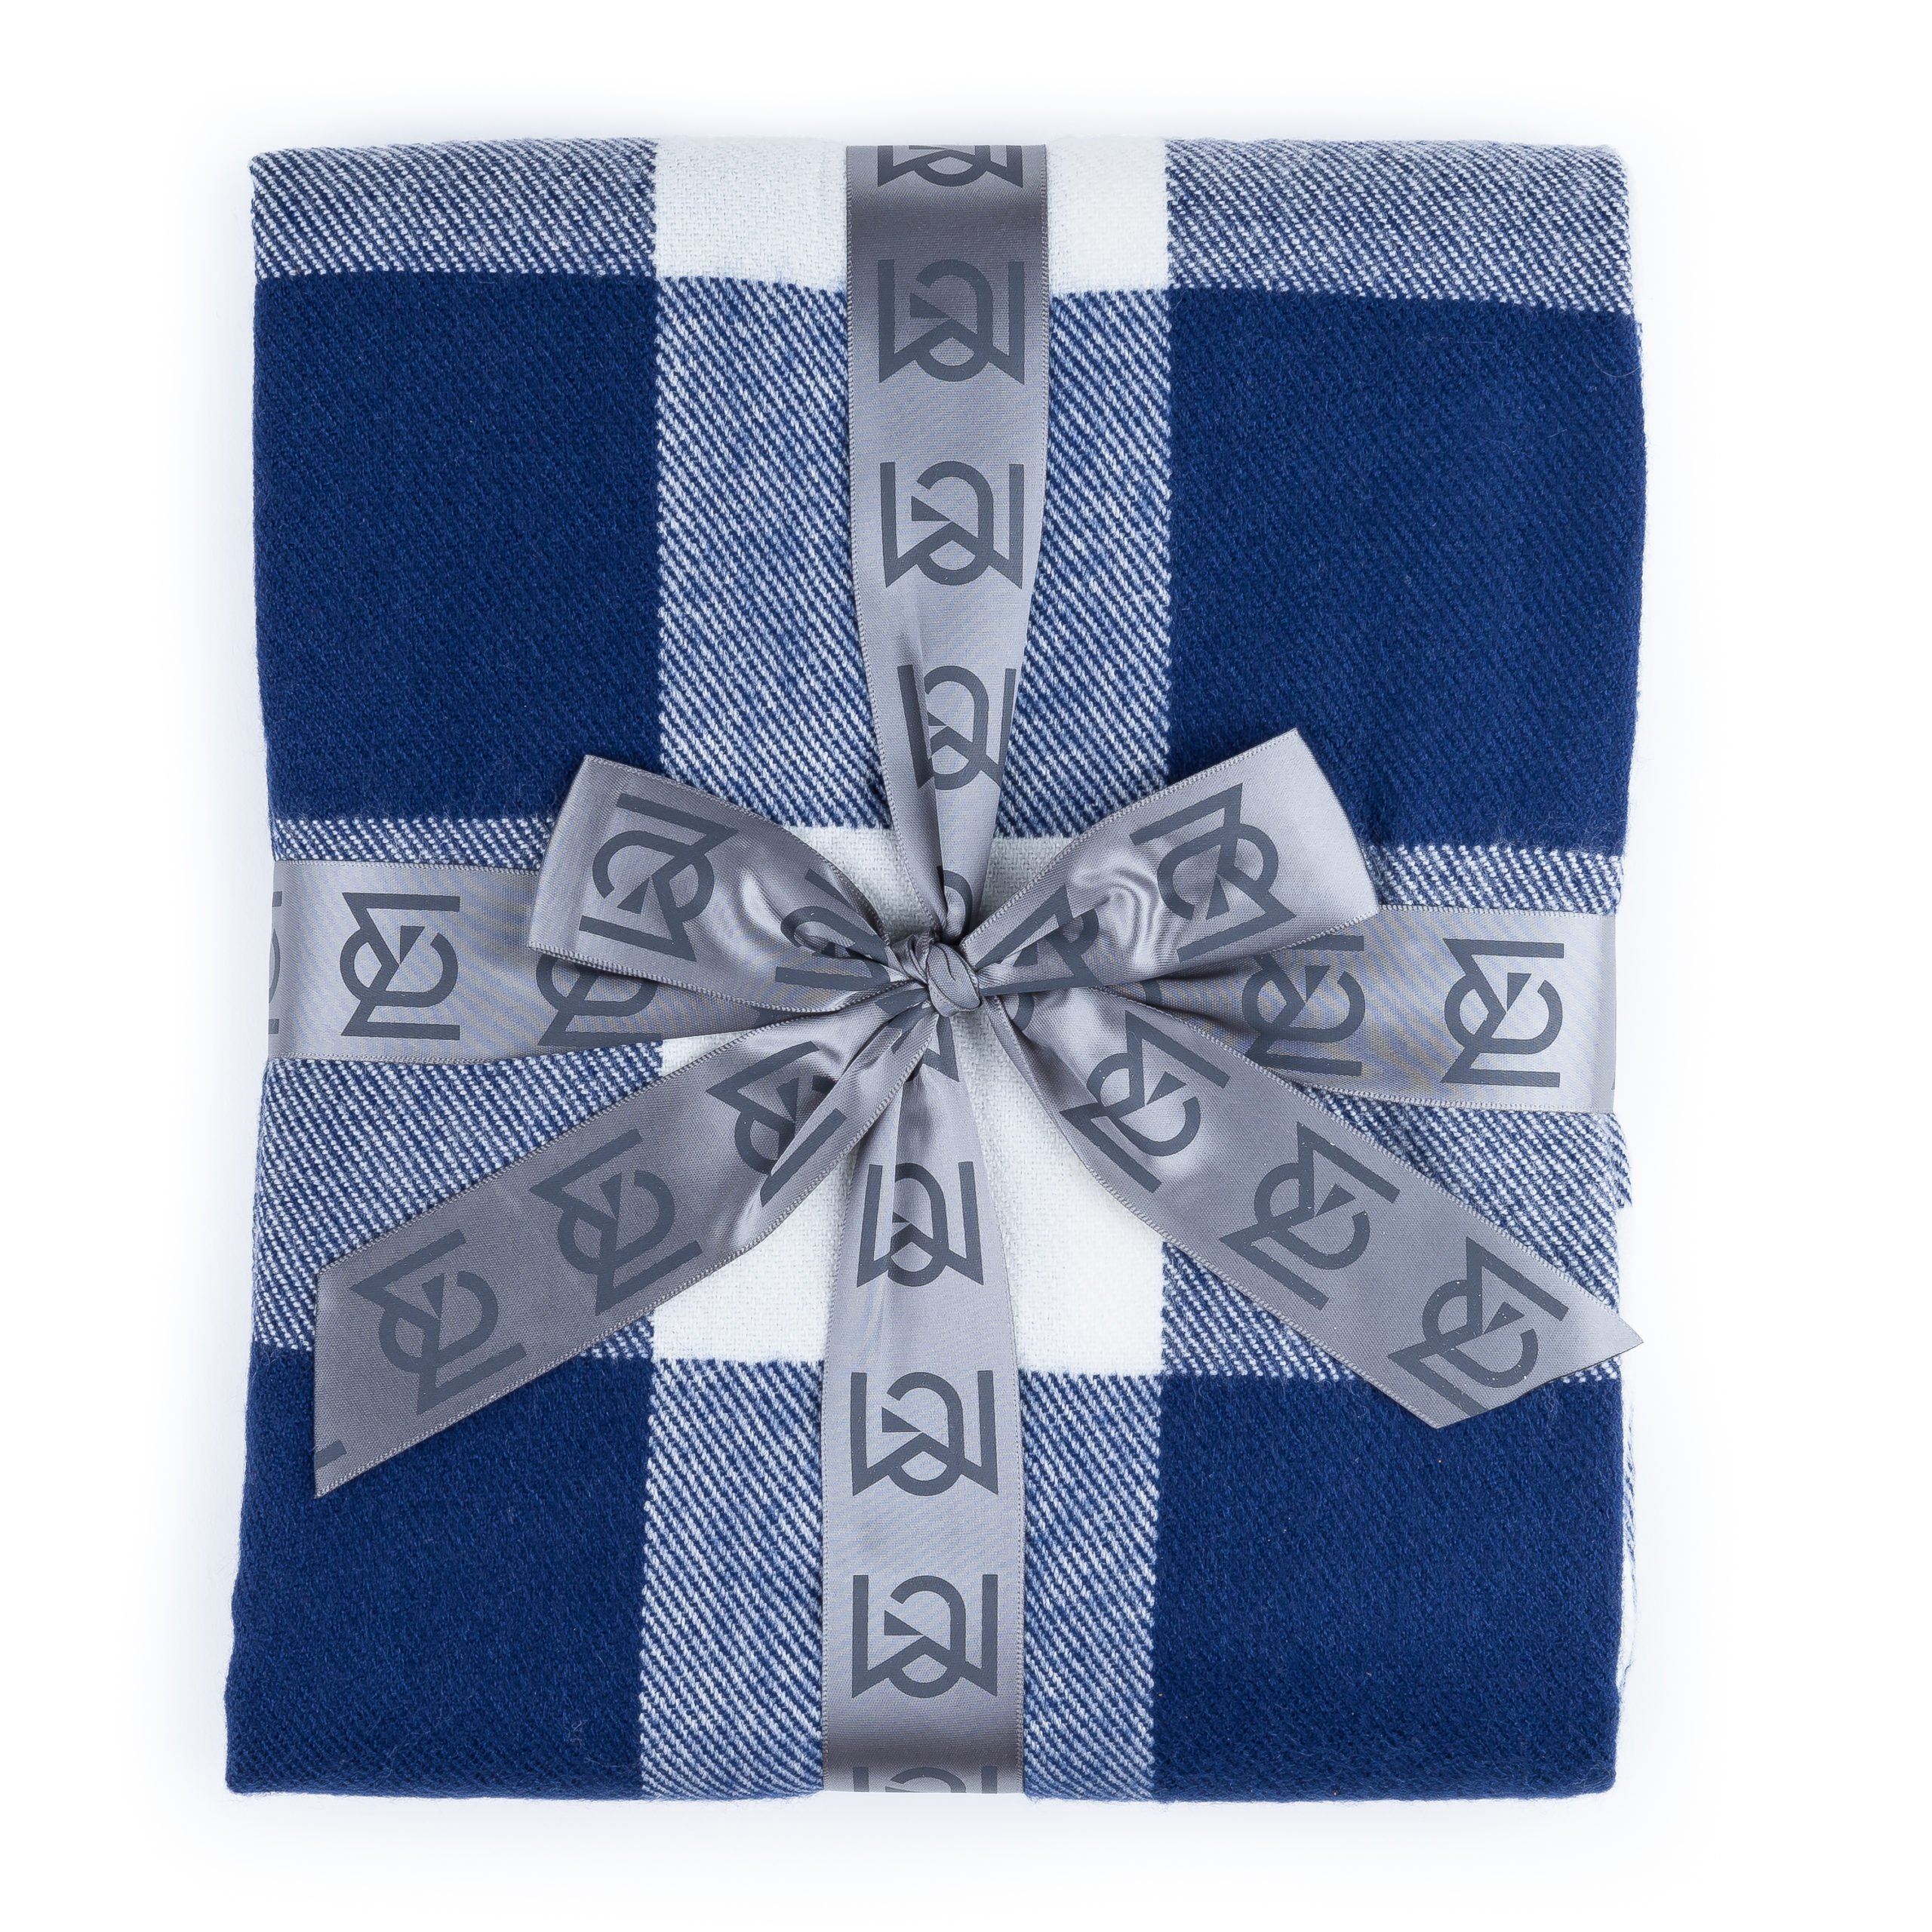

Try taking pictures from various sides, with a maximum of probably 3. You can post all of them or use just one, it’s up to you. Variations make photo albums more lively compared to seeing the same kind of shot over and over.
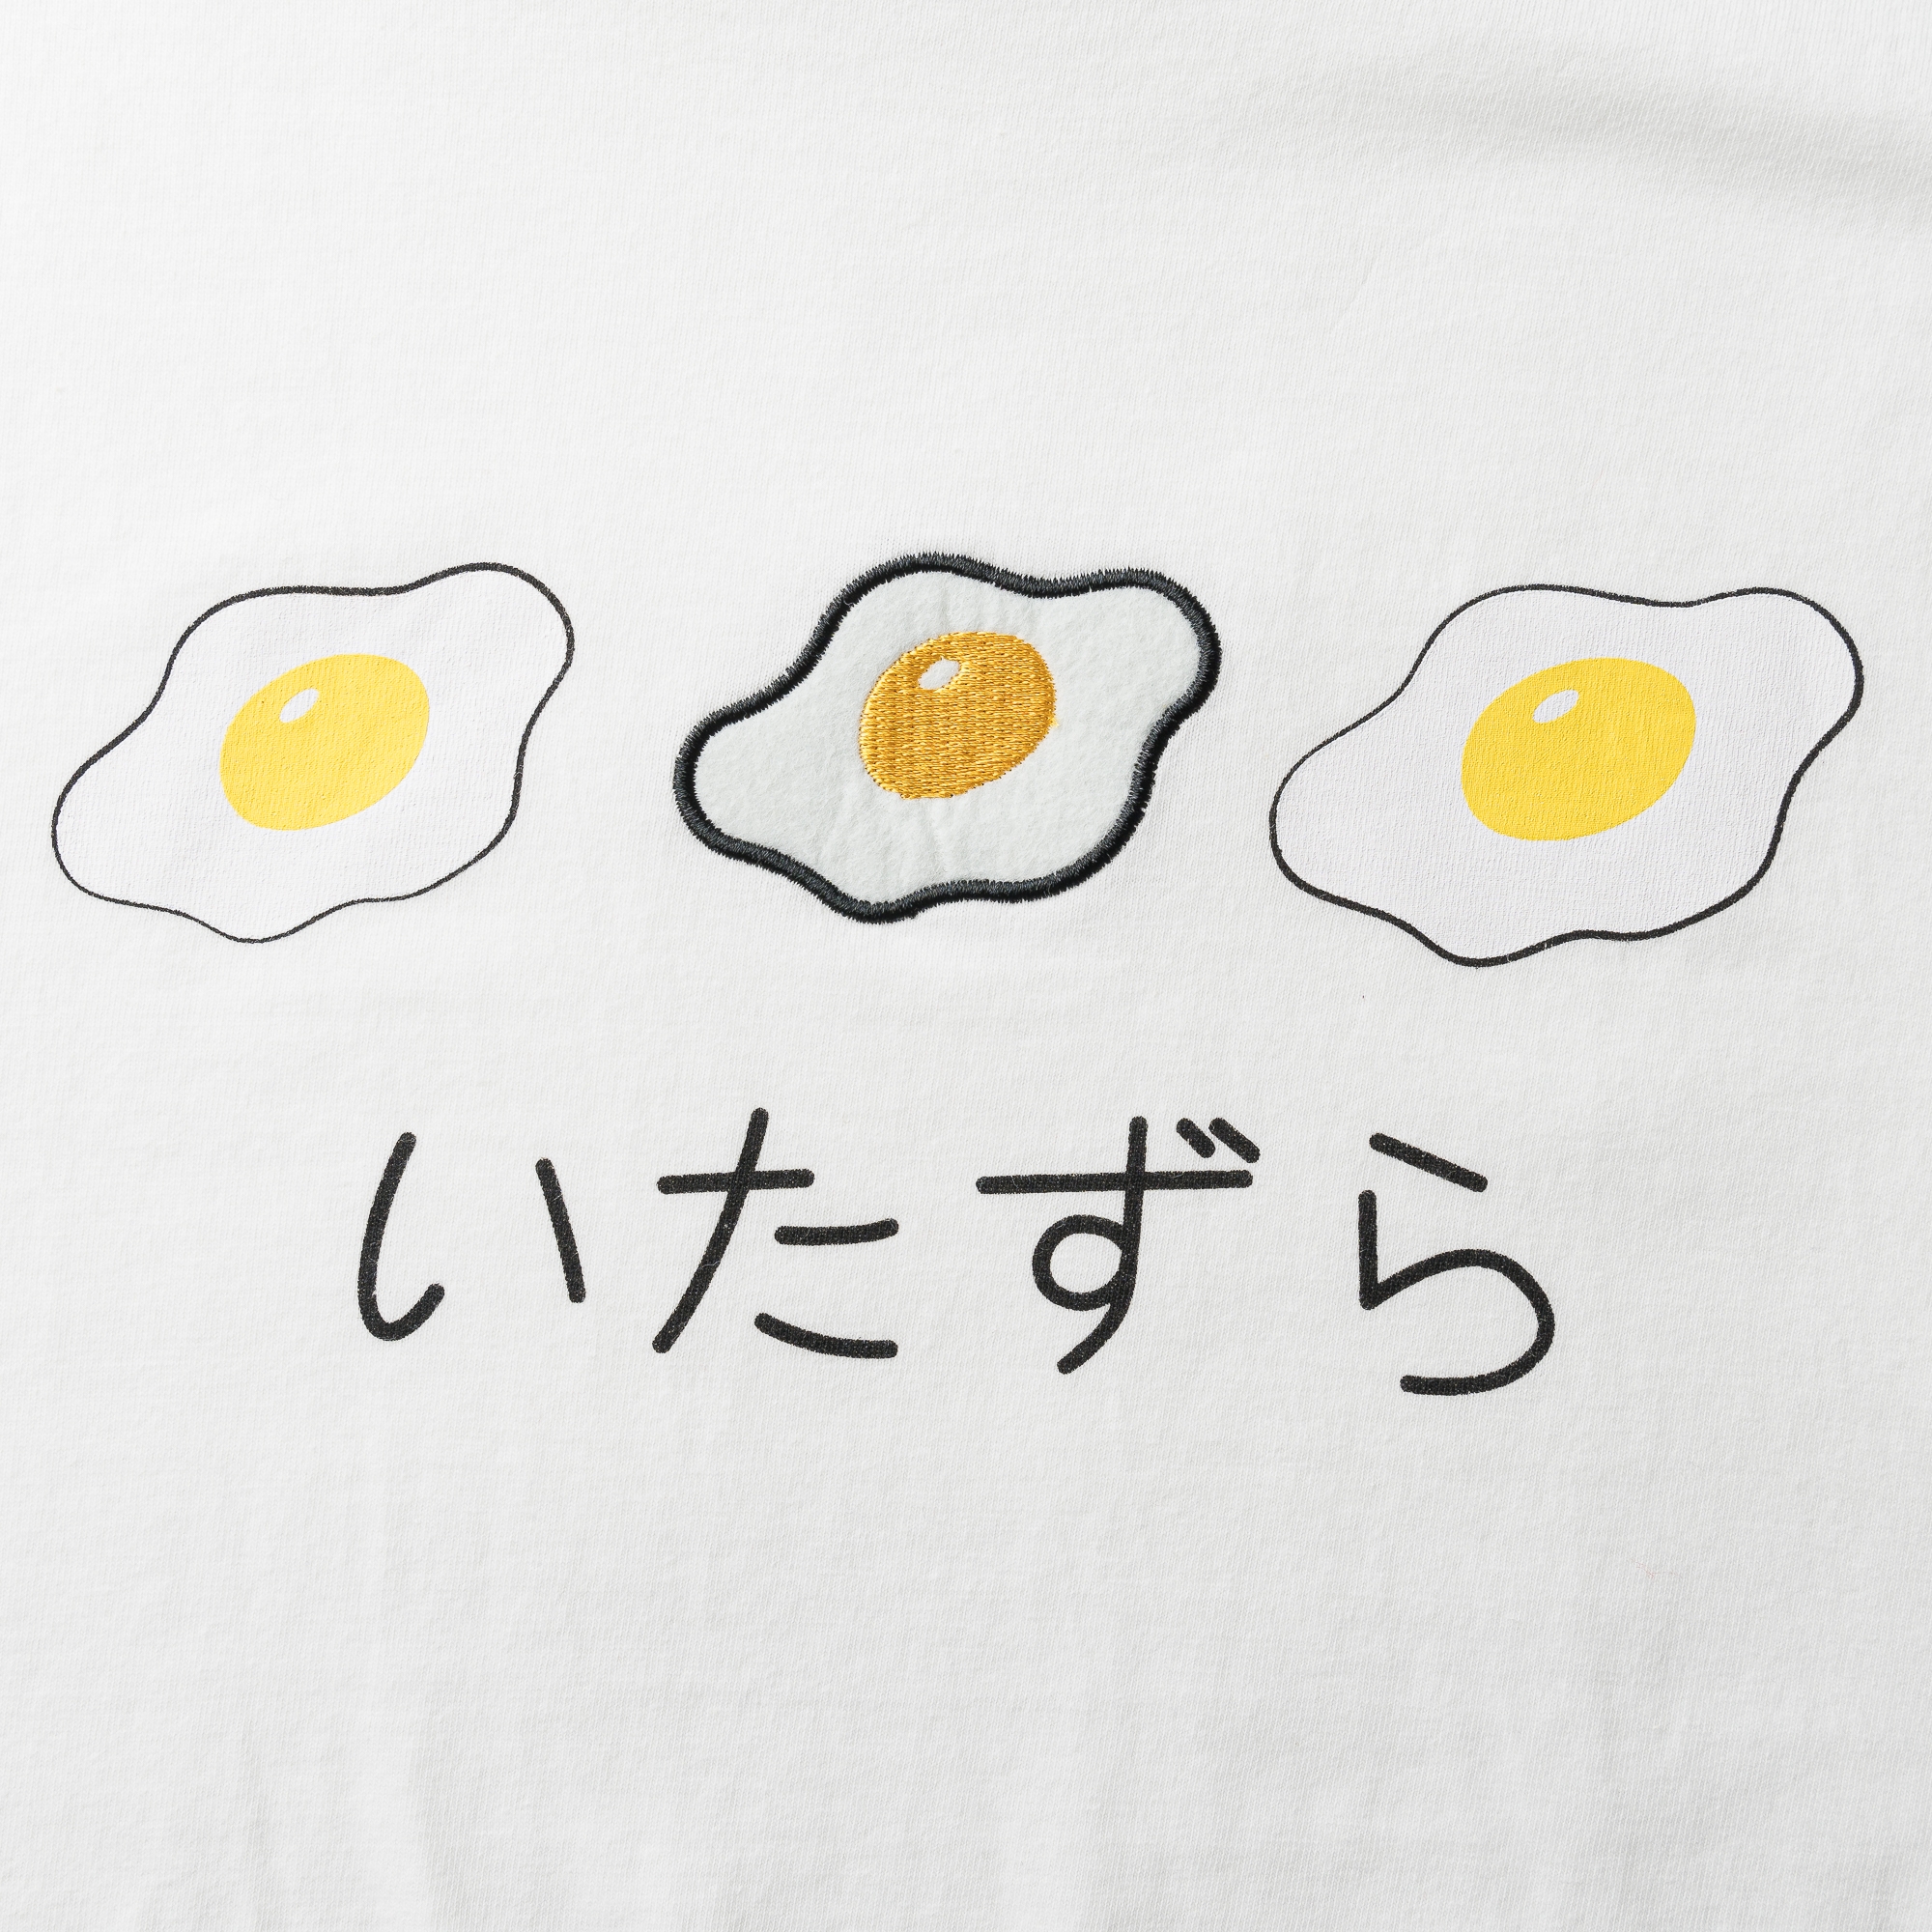
- Blur wisely

Depth of field blur or more popularly known as “bokeh” makes even objects look nice – if used correctly. When used wrongly, it ends up blurring what could be important details of items, such as engravings, patterns, textures, and more.
For online selling you’d want your photo to display the item in its full glory, so make it look very lifelike in the picture.
- Study post-processing
Learn to enhance your photos with built-in apps for example in phones, and free tools such as GIMP for your laptop or desktop. Even free tools today carry a lot of features that can pretty enhance your images to create stunning results. Cropping photos can makes a big difference.
There you have it! Product photography isn’t as hard as you think. In conclusion, it boils down to knowing how to take better photographs. Practice makes perfect.